I
Some To-Do's finally become To-Done's
I have been using my time off to work on my to-do list; this is a to-do list that is long, and for some items, years old. We moved to our home in May 2012 – just about 6 weeks before Marcus was born... This means that we had a lot of things that never got completed because we were busy with our little guy.
Now I have some time, and I am out of excuses, so here it goes.
I have been interested in woodwork and building things for a while and have been gathering tools to start projects. So last week I did the project that starts all projects. I prepared a work zone. This included cleaning out the back storage room in the basement – not as easy as it sounds because it had a lot of boxes that had not been touched in two years (I really wish I took a before picture). To be honest, this was a pretty yucky job, and I am glad it is over; there were some unpleasant surprises in a few boxes.
After I had everything moved into piles (recycled or tossed), I actually had enough room for the next step – I need a work bench.
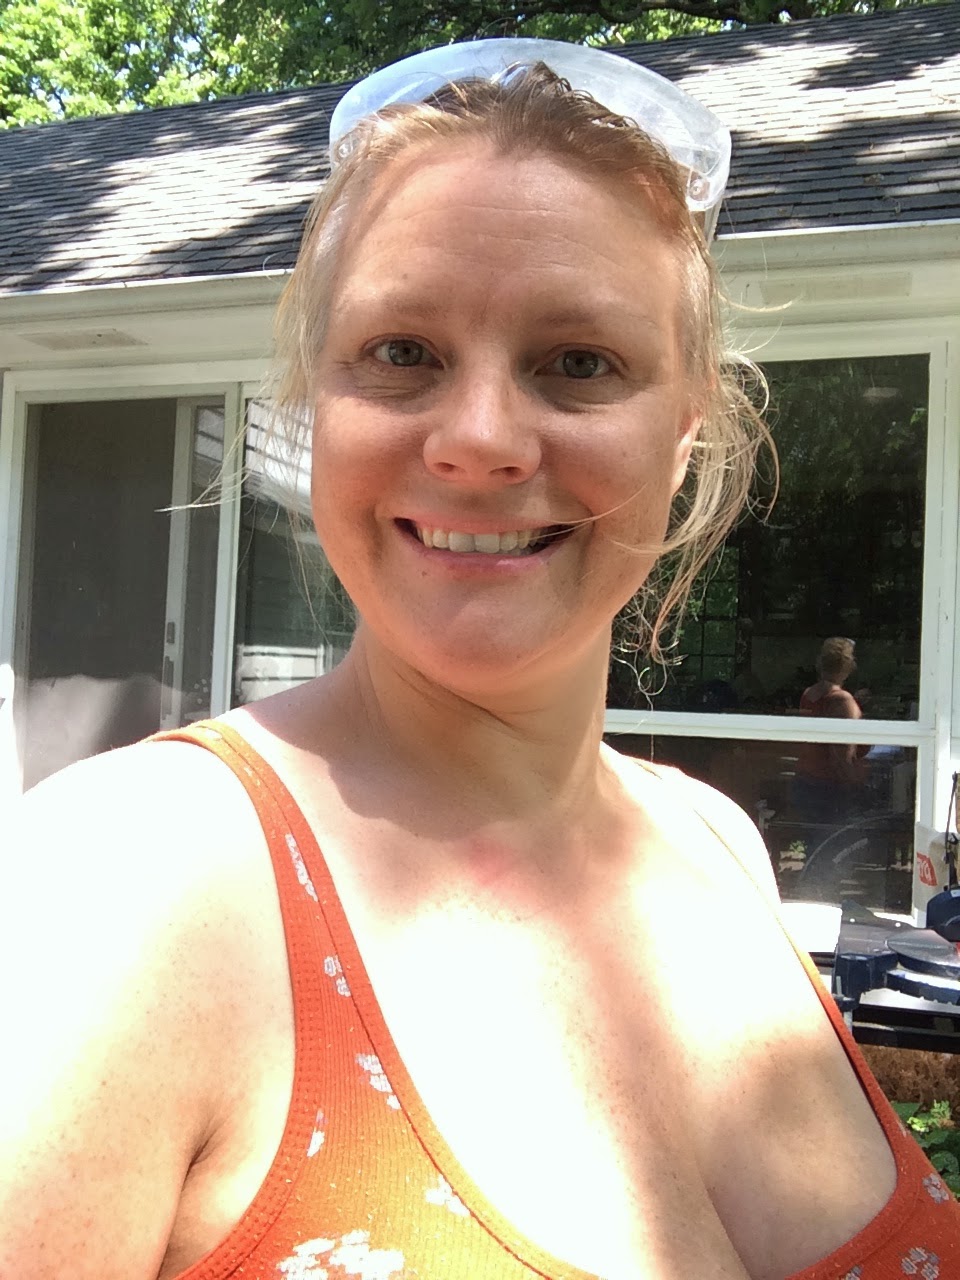
Next, I did my first solo major building project – I built a work bench. It was a really nice day, so I was able to do all of the cutting outside—it was awesome because my Dad brought the wood up a while ago, so I just had to get the inspiration to complete the project. Here is a short photo-journal of my project:
The workbench


'
 |
| All of my cuts are on this table. You can also see the directions. I followed them pretty closely! |
 |
| First assembly step completed. |
 |
| The parts of the bottom shelves are ready to go. |
 |
| It is starting to look like a work bench! |
 |
| I added the top shelf—this was a lot faster because I had practice building the shelves by this point. |
 |
| The final product. I made some mistakes, but looking at this picture they are not too obvious! I LOVE IT! |
I will happily admit that I did not think this up on my own. I spent a lot of time looking at pictures of different work benches and settled on one I found on pinterest:
Pinterest Link – I also followed the link from their site to the original plans and used a combination of both (that was really helpful).
The First Project: Map for Marcus
I started this project way back in January. At that point I thought it would just be fun and easy—well, that was until I started and almost immediately hit a problem. The purpose of this was to create a nicely-framed U.S. map to track all of Marcus's adventures. He is a fairly well-traveled toddler, mainly due to work travel with Mommy and Grandma Z., and I thought it would be fun to record his destinations from the beginning. Here is what I did. I made some mistakes, but since I was pretty much making it up as I went I am super pleased with the results:
 |
| I glued the map down to a foam backing and put some light plywood behind it (also glued). |
 |
| Designing the frame. |
 |
| Using a 1" x 4" and some inexpensive trim from Home Depot I created a frame |
 |
| This project used lots of power tools – I used the compound miter saw for cutting and the nail gun for building the frame. Funny story: the nails were too long so I made a few marks on my new work bench (Oh well – that is what is it for). After getting all of the nails in, I actually used a clipper to cut off all of the ends. It worked great. |
 |
| Finished project |
 |
| I stained it to add some color. Now I just need to figure out where to hang it. |
I am very pleased with this project. I can't wait until Marcus gets older. I hope he is as excited about seeing new things and travel adventures as we are – I just like to imagine him adding the new pins when we visit new places.
My Finished Workshop!!!!
Here is a final view of the workshop project. I can't wait to think about what I am going to build next...
 |
| New racking that holds all of the boxes that were on the floor. |
 |
| Work Bench—provides lots of space to keep things neat and organized. Can you see I already got some stain on it? I think I will just stain it that color next. |
 |
| Cutting area with lots of space. |


No comments:
Post a Comment